Reviving Your Ride: Essential Techniques For Motorcycle Dent Repair
Motorcycles are often a source of pride for their owners, thanks to their stylish looks and impressive performance. Yet, similar to any other type of vehicle, they can suffer from scratches, dents, and various flaws that detract from their aesthetic appeal and may lower their worth. Whether you’ve experienced a small accident or simply have some unsightly marks from everyday use, it’s important to know how to tackle these problems effectively.
Assessing the Damage
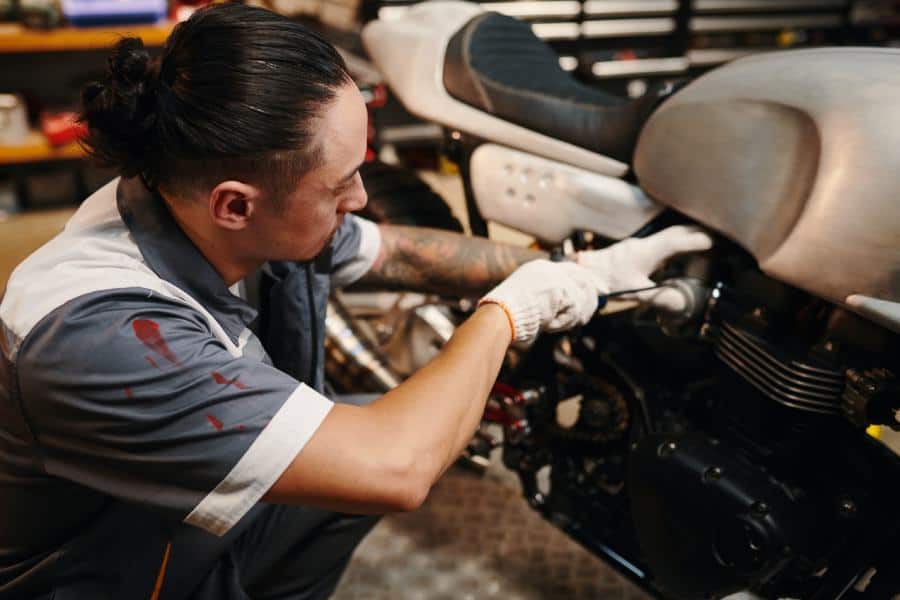
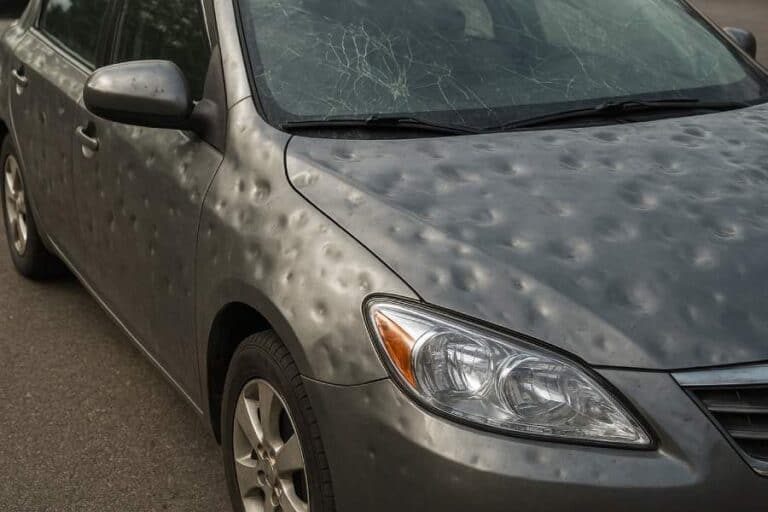
Prior to exploring repair methods, it’s crucial to evaluate the severity of the damage. Motorcycle dents can differ greatly in terms of size, depth, and position. Begin by thoroughly examining the impacted sections, paying attention to whether the dent is minor or severe, and if the paint is damaged or still intact. Recognizing these details will assist you in selecting the best repair approach.
Using the Right Tools
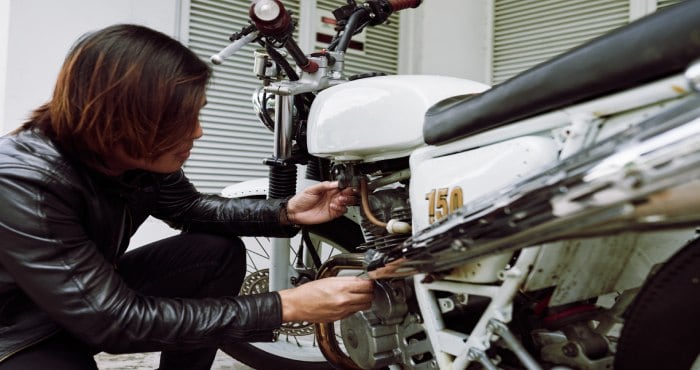
Effective dent repair for motorcycles frequently relies on having the appropriate tools. Below is a list of tools and materials that are typically utilized:
- Dent Repair Kit: Typically, these kits come with a range of tools such as dent pullers, rods, and glue guns. Their purpose is to help eliminate small dents and imperfections.
- Heat Gun: Using a heat gun can soften the metal, making it easier to work with for specific repair methods.
- Cold Water or Compressed Air: These are frequently utilized alongside heat to contract the metal, facilitating the removal of minor dents.
- Body Filler and Sandpaper: To repair more significant dents, it might be essential to use body filler to smooth out the surface prior to applying a new coat of paint.
Paintless Dent Repair (PDR) Overview
Clean the Area:
Start by carefully cleaning the damaged section to eliminate any dirt or debris. This step is essential to avoid scratches and to allow the repair tools to directly engage with the metal surface.
Heat the Dent:
Apply a heat source, like a heat gun, to the dented section. This will soften the metal, making it simpler to reshape. However, take care not to apply too much heat, as it could harm the paint finish.
Apply the Tool:
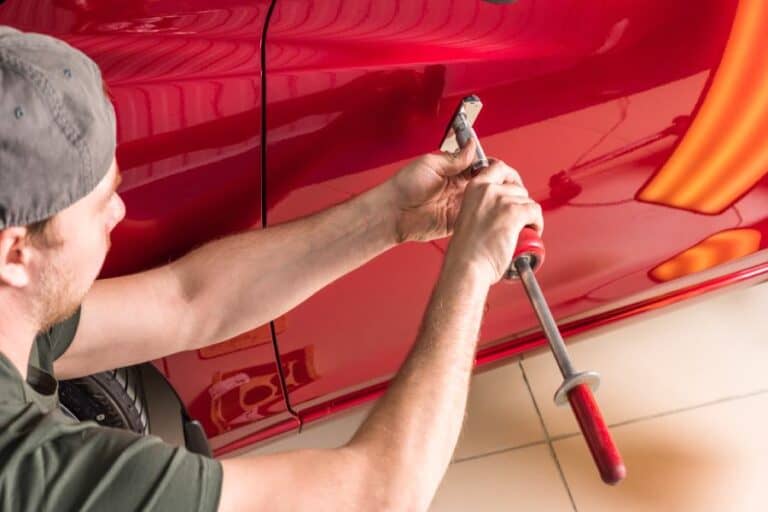
After the area has been warmed up, utilize specific PDR equipment to either push or pull the dent from the rear of the panel. The technician will exert pressure carefully to slowly bring the metal back to its initial form. This process demands accuracy to prevent any additional damage.
Cool Down:
Once the dent has been fixed, let the area return to room temperature on its own or apply a cooling substance. This process allows the metal to stabilize in its new form and prevents the dent from reappearing.
Using Heat and Cold Methods
In situations where PDR tools are not accessible or if the dent is especially difficult to remove, employing a mix of heating and cooling techniques can help to eliminate the dent.
- Heat Application: Use a heat gun to warm the dent, ensuring that you continuously move the heat source to prevent harming the paint.
- Cold Treatment: Once heated, promptly use cold water or compressed air on the affected area. This swift shift in temperature can lead to the metal contracting, potentially aiding in the removal of the dent.

Body Filler Application Guide
Prepare the Surface:
Prior to using body filler, make sure the area is thoroughly cleaned, completely dry, and devoid of any rust or particles. Abrade the damaged section to generate a rough surface that enhances the adhesion of the filler. Eliminate any flaking paint, dirt, or impurities, and use a clean cloth to wipe down the area, ensuring it is prepared for application.
Apply Body Filler:
Prepare the body filler by following the guidelines provided by the manufacturer, usually involving a catalyst. Utilize a putty knife to spread the filler over the designated area, ensuring it is evenly distributed and pressed into any flaws or indentations. Aim for a smooth finish to reduce the amount of sanding required afterward.
Sand the Filler:
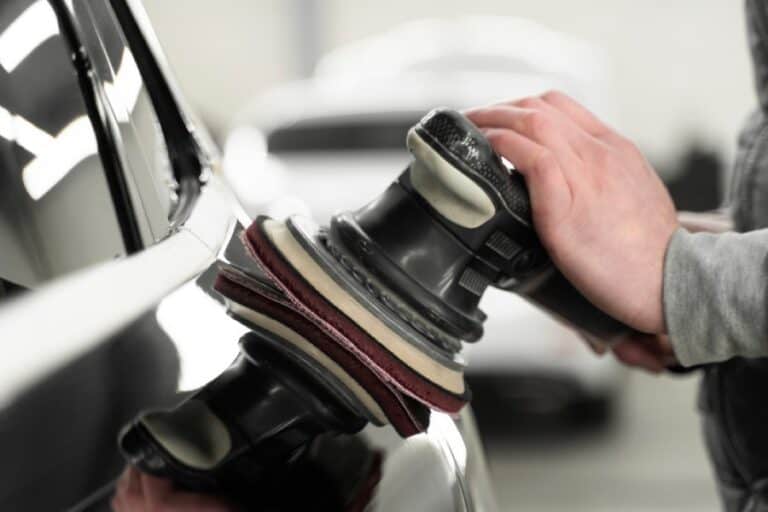
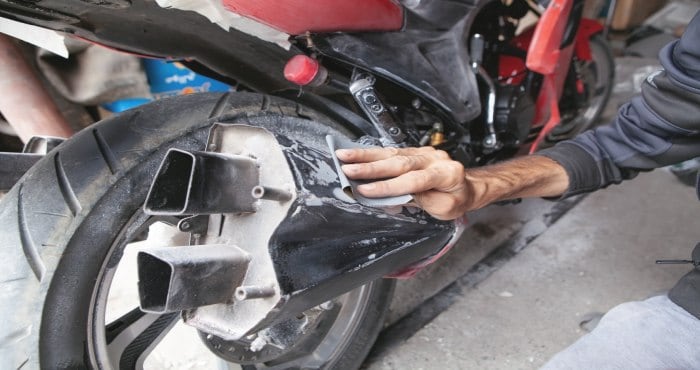
Let the filler set according to the suggested drying duration. After it has fully hardened, use coarse-grit sandpaper to shape the filler and integrate it with the adjacent surface. Progressively move to finer sandpaper grits to create a smooth, uniform finish.
Prime and Paint:
Once you’ve finished sanding, make sure to clean the surface thoroughly to eliminate any dust particles. Next, use a primer that matches both the filler and the type of paint used on the vehicle. Let the primer dry completely, and if needed, give it a light sanding. Then, proceed to apply the paint in thin, uniform layers, ensuring each layer is fully dry before adding another. To complete the process, add a clear coat for extra protection and a glossy finish.
Replacing Panels or Parts
In certain situations, particularly when there is significant damage, opting to replace the affected panels or components can be the most sensible choice. This method guarantees that the motorcycle is brought back to its original state while maintaining both quality and aesthetics. Consult your motorcycle’s manufacturer or a reliable parts supplier for suitable replacements.
Professional Repair Services
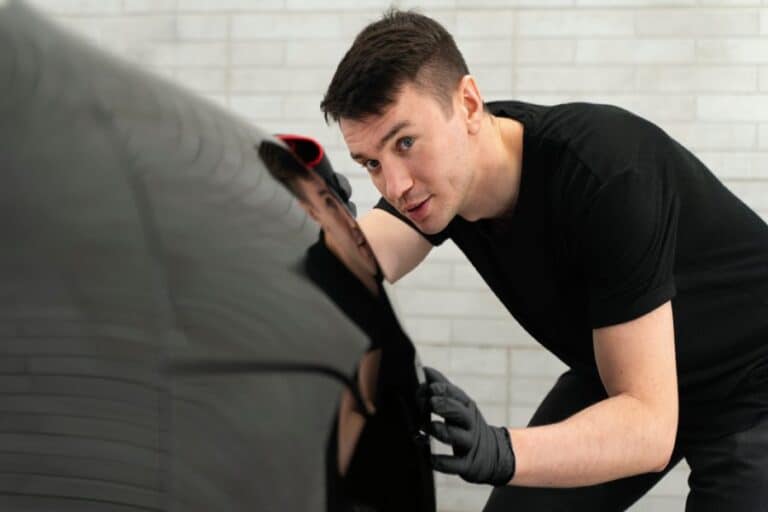
If you’re hesitant about tackling the repair on your own or if the damage is significant, it’s a good idea to consult a professional. Motorcycle repair specialists possess the knowledge and tools necessary for intricate repairs, ensuring a top-notch outcome. Additionally, they can provide guidance on how to care for your motorcycle to avoid future issues.
Preventative Measures
After your motorcycle has been fixed, implementing preventive strategies can help prevent future scratches and dents.
- Protective Gear: Utilize motorcycle covers, tank guards, and various protective accessories to safeguard your bike against unintended collisions and damage from the elements.
- Careful Parking: Take care when choosing a parking spot for your motorcycle to prevent possible accidents or contact with other vehicles and people.
- Routine Upkeep: Consistently check and service your motorcycle to resolve potential problems before they worsen.
Restoring your motorcycle from imperfections like dents and scratches requires the right tools, methods, and occasionally the assistance of experts. Whether you’re addressing small dings through Paintless Dent Repair or managing more extensive damage with body filler, understanding these key techniques will aid in preserving your bike’s aesthetics and worth.

