Dent Repair Made Easy: A Step-By-Step Approach To Restoring Your Vehicle
Your car’s exterior can suffer from various issues, such as accidents, bumps from shopping carts, or even hail damage. These flaws not only diminish the look of your vehicle but can also impact its resale price. The good news is that fixing dents doesn’t have to be overwhelming. By using the proper methods and exercising a bit of patience, you can make your vehicle look as good as new with relative ease.
Step 1: Assess the Damage
Prior to starting any repair work, it’s important to evaluate the level of damage. Dents vary significantly; some might be superficial and merely aesthetic, while others could have impacted the paint or led to structural problems. Here’s a guide on how to assess your dent:
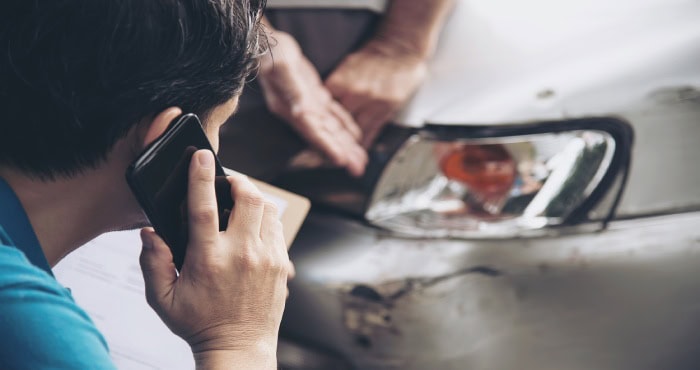
- Location: Identify the position of the dent. Repairs are typically simpler for dents found on flat, smooth surfaces compared to those situated on curved or difficult-to-access sections.
- Size: Assess the dimensions of the dent. Generally, minor to moderate dents can be fixed at home, but more significant or deeper ones may necessitate assistance from a professional.
- Paint Damage: Inspect the paint for any scratches or chips. Should you find any damage, further actions will be required to avert rust and to rejuvenate the surface.
Step 2: Gather the Necessary Tools
- Heat source like a hair dryer or heat gun: These devices can be used to heat the dent, making it easier to reshape.
- Suction cup or dent puller: Ideal for extracting minor dents without harming the car’s finish.
- Filler compound: Useful for addressing deeper dents or scratches that reveal bare metal, helping to restore the area.
- Abrasive paper: Essential for refining the surface post-repair.
- Primer and matching paint: Necessary for completing the repair and ensuring color consistency with the original finish.
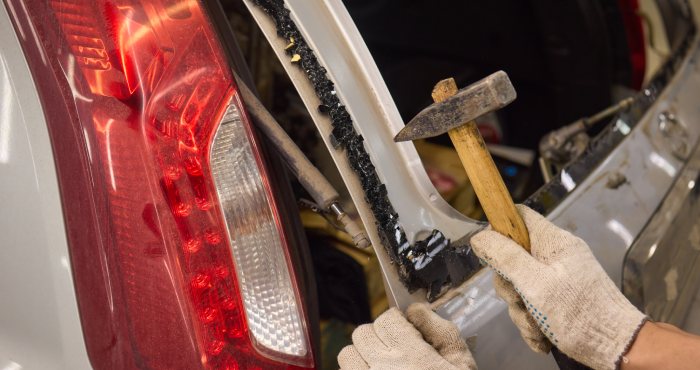
- Professional dent repair tools (PDR): A collection of specialized instruments designed for high-quality dent removal.
Step 3: DIY Dent Repair Techniques
1. The Plunger Method
One common do-it-yourself technique for fixing larger, shallow dents involves the use of a plunger. Begin by washing the affected area with soap and water to eliminate any grime. Moisten the rubber part of the plunger to enhance its suction, then position it over the dent and exert consistent, gentle pressure.
After the plunger makes contact with the surface, quickly pull it away. This action might cause the dent to spring back as the suction helps reshape the metal. If the dent remains after your first try, just go through the process again until the area is even and smooth.
2. The Hair Dryer and Compressed Air Method
In cases where the dent is minor and the paint remains intact, applying heat can help soften the metal. You can achieve this by using a hair dryer or a heat gun to gently warm the dent for approximately 30 seconds to one minute. Be cautious not to apply too much heat, as it may harm the paint finish. This technique works well on both plastic bumpers and metal surfaces.
After heating the dent, aim a can of compressed air directly at it. The quick cooling effect from the air can lead to the metal contracting, potentially helping to remove the dent. If it doesn’t completely vanish, you can either repeat this method or use a plunger for extra help.
3. Using a Dent Puller Kit
For a more polished DIY approach, try using a dent puller kit, which includes suction cups, pulling tabs, and a glue gun. First, clean the dented area with soap and water to ensure proper adhesion. Then, apply glue to the pulling tab and attach it to the center of the dent.
After the adhesive has set, connect the pulling tool to the tab and carefully pull to start lifting the dent. Once the dent has been removed, detach the tab and wipe away any leftover glue. If necessary, employ sandpaper to refine the surface for a perfect finish.
Step 4: Body Filler for Deeper Dents
- Prepare the Area: Begin by using sandpaper to level the surface around the dent and eliminate any rust or damaged paint.
- Apply Filler: Following the manufacturer’s guidelines, mix the body filler and use a spreader to apply it over the dent, ensuring it fills the cavity completely.
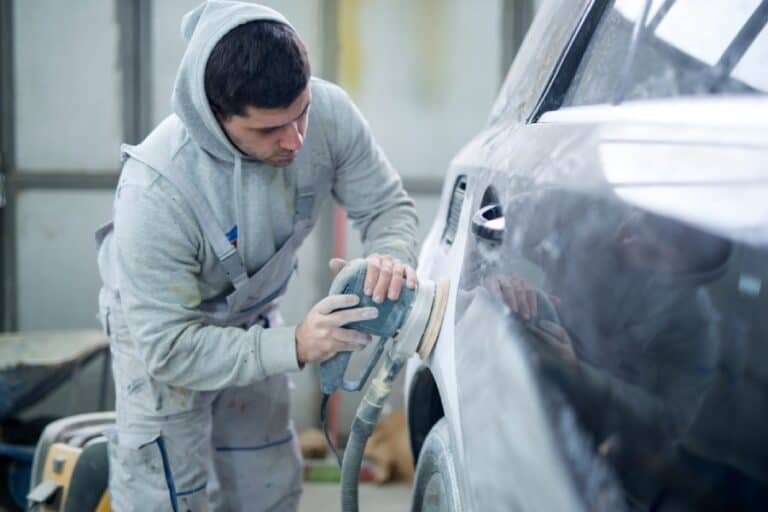
- Smooth It Out: After the filler has cured, sand it down with paper starting from a coarse grit and gradually transitioning to finer grits for a polished result.
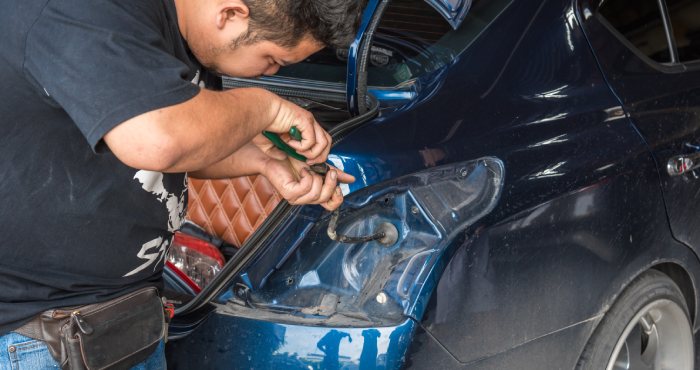
- Prime the Surface: Once you achieve a smooth finish, coat the area with primer to enhance paint adhesion on the body filler.
- Apply Touch-Up Paint: After letting the primer dry, use touch-up paint that matches your vehicle’s color. You may need multiple coats, so be sure to let each layer dry before adding another.
- Finish with Clear Coat: Conclude your repair by applying a clear coat to safeguard the paint and provide a glossy, professional appearance.
Step 5: Professional Paintless Dent Repair (PDR)
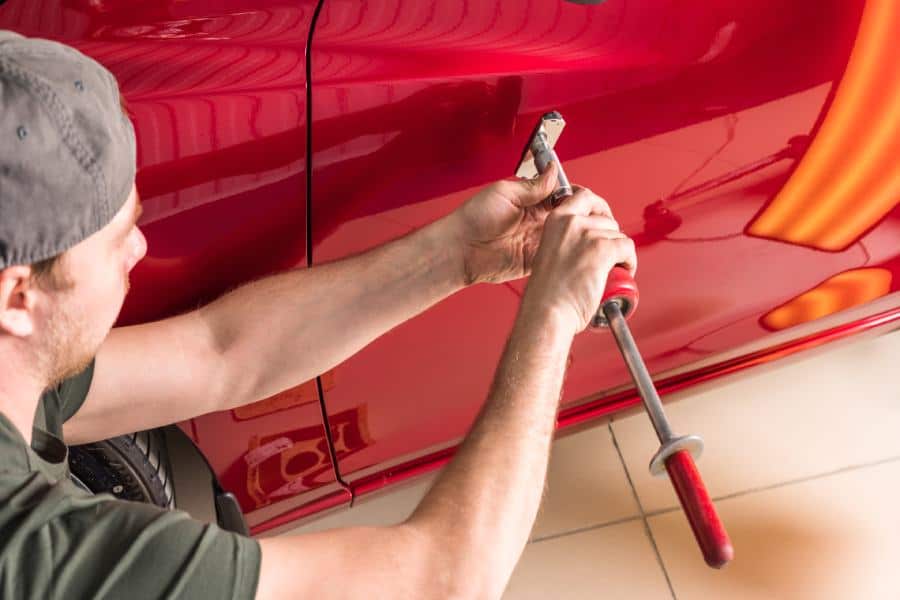
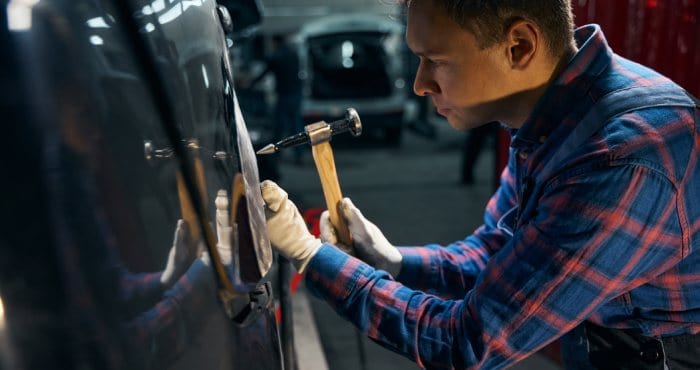
If you lack confidence in your skills to fix the dent or if the damage is significant, it might be wise to consult a professional. Paintless Dent Repair (PDR) is an expert method employed by specialists to eliminate dents while preserving the vehicle’s paintwork. Using unique tools, PDR technicians carefully manipulate the metal from behind, returning it to its original form without requiring any painting or filler materials.
Paintless Dent Repair (PDR) is perfect for addressing small to medium dents that haven’t harmed the paintwork. This method is a fast, efficient, and budget-friendly solution for enhancing your vehicle’s look.
Step 6: Final Touches
Once the dent repair is complete, take a moment to evaluate the results. Ensure that the surface feels smooth and uniform. If needed, you can add extra coats of paint or perform touch-ups for an immaculate appearance. To finish, wash and wax your vehicle to bring back its luster and safeguard the recently repaired section.
Fixing dents on your vehicle doesn’t need to be a daunting or costly experience. Whether you’re facing a small blemish or a larger dent, employing the appropriate tools and methods can bring your car back to its former glory. Nevertheless, if the damage exceeds your expertise, it’s wise to consult a professional. With the correct strategy, your car can regain its pristine appearance in no time!

